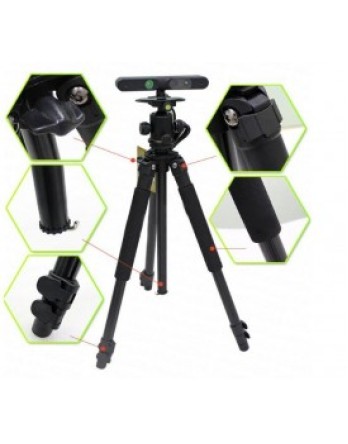
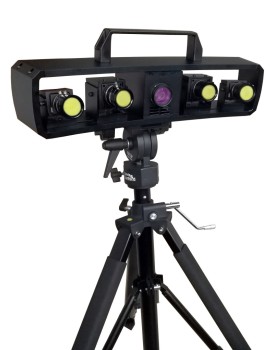
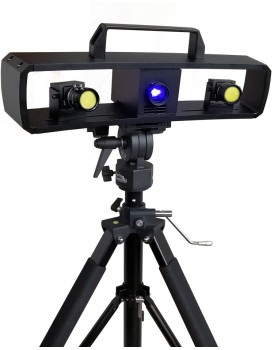
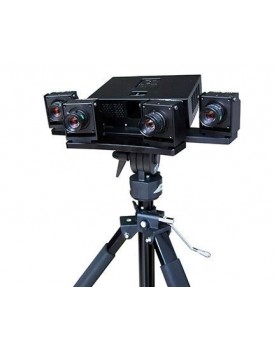
New Shine Basic prime sense 3d scanner
Basic prime sense 3d scannerProduct Information NS- bacis3dscan Basic prime sense 3d scanner 3d scanner Product Details Specifications1. Model: Primesense2.Single scan range : 400*300 , 200*150,100*753.Single measurement accuracy: 0.01mm~0.03mm.3.Point distance : 0.07~0.31mm4.Volume accuracy : 0.15mm/m.5 Scan deepth : 100~400 mm .6.Camera resolution 1,3MP*27.Light Source :Blue lig..
| Brand: | New Shine |
| Product Code: | NS-008 |
| Availability: | 1 |
Basic prime sense 3d scanner
Product Information
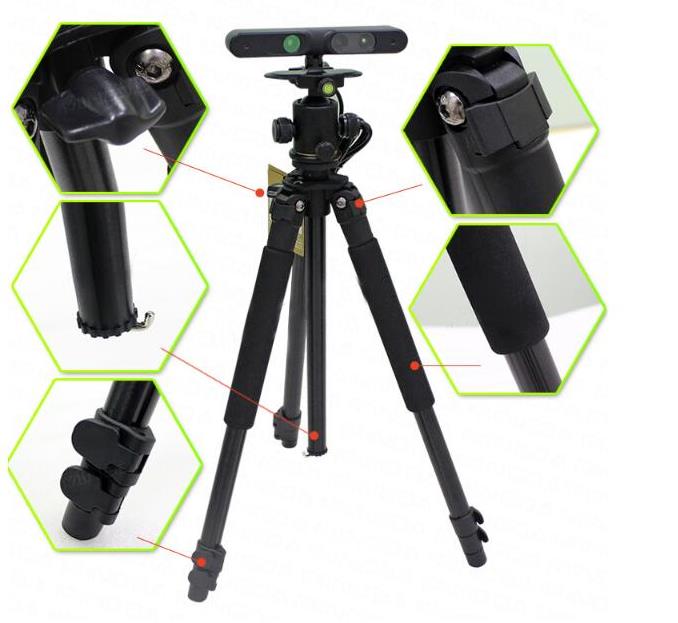
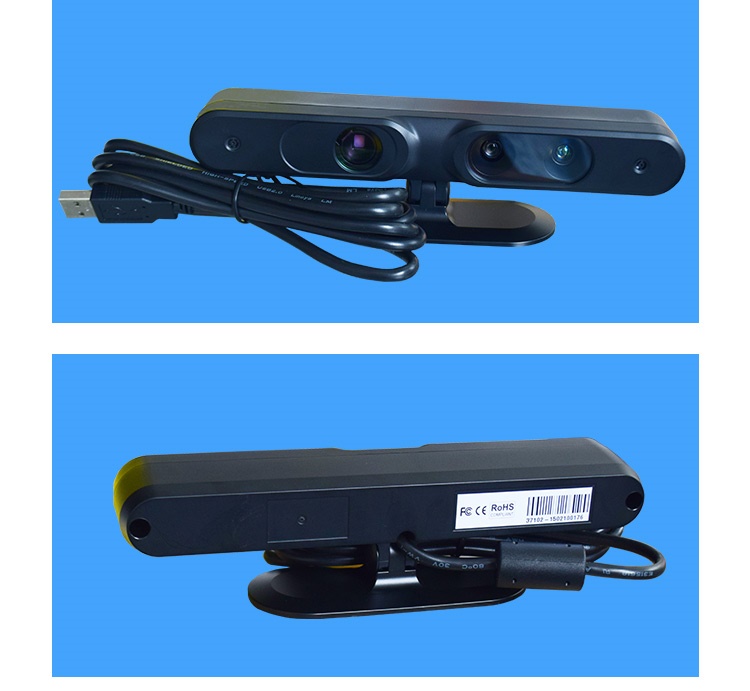
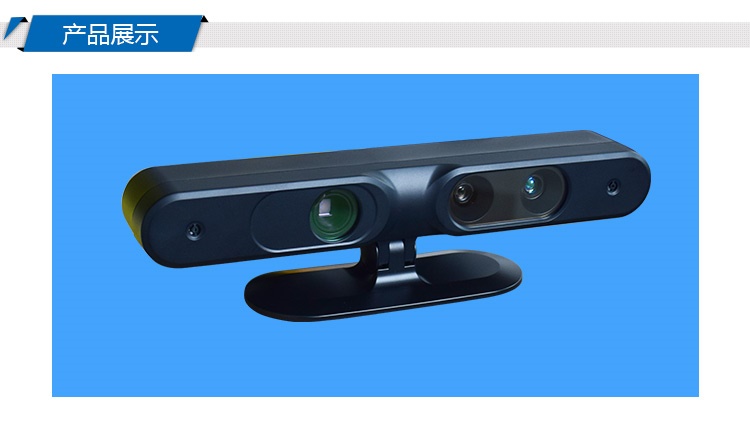
| NS- bacis3dscan Basic prime sense 3d scanner 3d scanner Product Details Specifications | ||
|---|---|---|
| 1. Model: Primesense | ||
| 2.Single scan range : 400*300 , 200*150,100*75 | 3.Single measurement accuracy: 0.01mm~0.03mm. | |
| 3.Point distance : 0.07~0.31mm | 4.Volume accuracy : 0.15mm/m. | |
| 5 Scan deepth : 100~400 mm . | 6.Camera resolution 1,3MP*2 | |
| 7.Light Source :Blue light(LED). | 8.Scan type : Non-contact structure light scanning | |
| 9.Alignment method Reference points auto-alignment/manual alignment. | 10.Grating light source : LED cold light source , life expectancy: 35000 Hours . | |
| 11. Scan type Non-contact structure light scanning. | 12. Output Data format: ACS , OBJ, STL , ,PLY, IGES. | |
| 13 . Scan time : < 5 sec | 14. Operation system : win 98 / NT / 2000/XP/Win 7 / Win 10 64 | |
| 15.Operation temperature 0 - 45 degree | 16. PC configuration requirement CPU: i5-6500/MEMORY: 8G , Graphic card : Discrete Graphics 2G (NVIDIA chipest) Hard disk: 1TB/Monitor: 19"/CD-ROM: DVDRW | |
| 16.Memory usage : Supporting large memory more than 16G | Voltage: 100-230V,50/60HZ | |
Feature:
1.Efficient and Reliable Scanning.
Less than 5s for a single scan . It takes around 30 minutes to scan a 1-meter-long object and get a high accuracy and resolution result
2.Convenient Scanning
1, out of the box, without calibration
3.Portable
2,small size, light weight, portable, easy to use. .
4.Full Dimension Measurement and Inspection
Non-contact measurement can be applied in complex component to get full dimension inspection and measurement.
Feature and Advantage
1) do not spray imaging agent, without labeling can be measured, the scanning speed up to 8000 points / frame
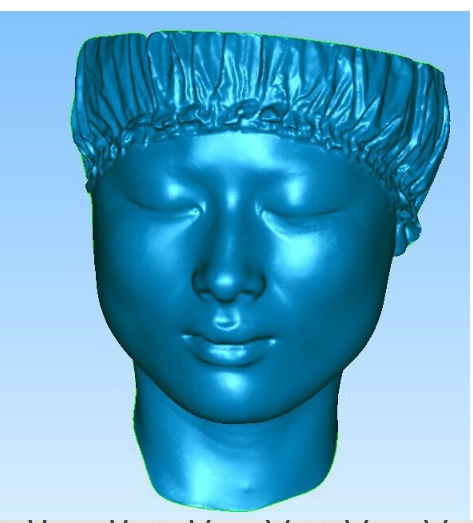
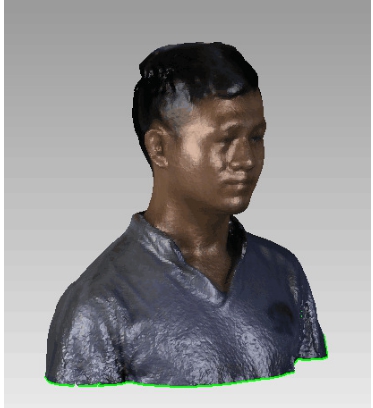
2) the scanning of complex objects (such as: sculpture, human body) is particularly good, high efficiency, good effect, no blind spots
3) the scanning process instantly synchronized display on the computer, intuitive and easy to use
4) software system is simple, intuitive interface, available fast key operation, high efficiency
5) the overall optimization of the splicing can be done to reduce the global error.
6) the software comes with the assembly function, sub-regional scan, each block individually scanned into a separate file in the assembly process they are assembled as a whole, to scan large objects and complex objects to facilitate.
7) data interface USB2.0, plug and play
8) , the output file format for common PLY, etc., with mainstream reverse engineering software such as Geomagic, Imageware dock
9 ) ,Dedicated to computer vision, robot vision or computational geometry and other research data access.
10 )easy to learn, 1 to 2 days can be skilled operation .
.png)
